Growing and storing fresh celery at home — or “pravi celer” — is one of the simplest ways to bring vibrant flavor and healthy ingredients into your everyday meals. Whether you love nutrient-packed green juices, crisp salads, or flavorful soups, homegrown celery gives you unmatched freshness, aroma, and quality.
In this updated guide for fashionisks.com, you’ll learn how to start, grow, harvest, and store celery confidently, even if you’re a beginner.
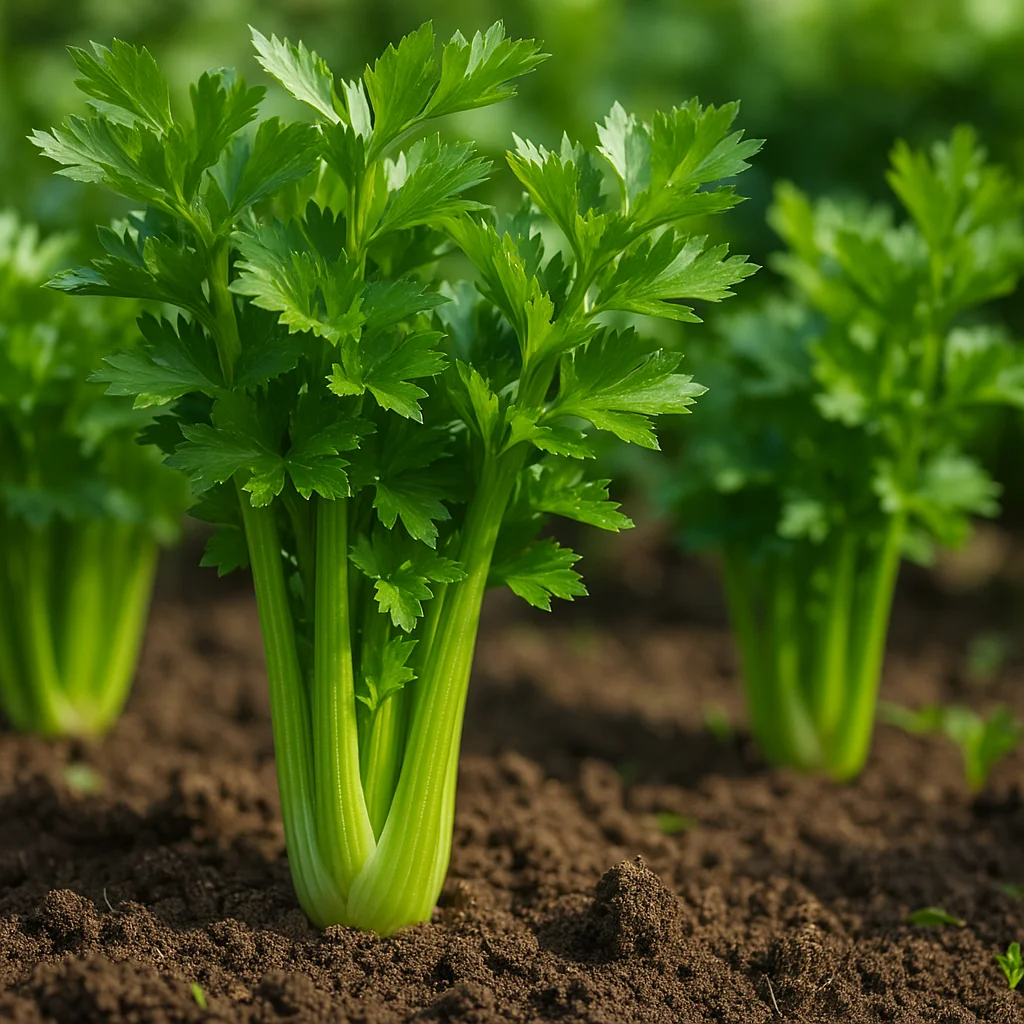
Why Grow Pravi Celer at Home?
Homegrown celery tastes fresher, stays crisp longer, and offers complete control over how it’s grown. No chemicals, no limp stalks, and no waste — just clean, flavorful produce from your own garden or balcony.
Benefits of Growing Your Own Celery
- Rich flavor and better texture than store-bought
- Easy addition to juices, detox drinks, and everyday meals
- Cost-effective and long-lasting when stored correctly
- Works even in small-space gardens and containers
See also Candizi: Everything You Need to Know in 2025 & 2026
Choosing the Right Celery Variety
Before planting, decide which type of celery suits your needs:
1. Stalk Celery (Classic Celery)
Crunchy stalks perfect for salads, juices, soups, and snacking.
2. Leaf Celery
Grown for aromatic leaves—ideal for garnishing, seasoning, and herb mixes.
3. Celeriac (Root Celery)
Grown for its flavorful, bulb-like root used in hearty dishes.
Tip: If your region has short summers, choose a fast-maturing stalk variety so it reaches full size before cooler temperatures arrive.
Where to Plant Your Celery
Light Requirements
- Prefers full sun
- In hot climates, give partial shade during intense afternoon heat
- Needs 4–6 hours of light daily
Ideal Soil
Celery loves rich, loamy, moisture-retentive soil.
Improve your soil with:
- Compost
- Aged manure
- Organic matter
Best pH: 6.0–7.0
Note: Celery is a heavy feeder, so prepare fertile soil before planting.
Starting Seeds vs. Transplants
Celery takes time to grow, so most gardeners start indoors.
Starting From Seed
- Begin 8–10 weeks before the last frost
- Use seed trays with light seed-starting mix
- Keep the soil moist and warm
- Use grow lights to avoid thin, weak seedlings
Transplanting Outdoors
Harden off seedlings gradually by placing them outside for a few hours daily, increasing exposure over a week.
Transplant when:
- Soil is warm
- Frost risk has passed
Spacing & Planting Layout
Give celery room to grow tall, firm stalks.
- Space plants 8–12 inches apart
- Use raised beds or garden rows
- For containers, choose pots at least 12 inches deep
Watering & Feeding: The Secret to Crisp Celery
Celery needs steady moisture — inconsistency leads to bitter, stringy stalks.
Watering
- Keep soil evenly moist
- Apply mulch to prevent evaporation
- Avoid waterlogging
Feeding
- Apply compost or balanced organic fertilizer every few weeks
- Regular feeding maintains soft, tender stalks
Common Pests & Prevention
Celery can attract pests like aphids and slugs, but prevention is simple.
Organic Protection Tips
- Check plants often and wash pests off with water
- Use insecticidal soap for heavy aphid issues
- Improve airflow and drainage to prevent fungal diseases
- Rotate crops yearly to avoid soil problems
Optional Step: Blanching
If you want milder, paler stalks:
- Mound soil around the plant base, or
- Use paper/cardboard sleeves to block sunlight
This step is optional and mainly for appearance/taste preferences.
How & When to Harvest Pravi Celer
Celery is ready when stalks are tall, firm, and fully colored.
Two Ways to Harvest
- Pull the whole plant by cutting at soil level
- Harvest outer stalks as needed to allow continuous growth
If frost is expected, harvest early or cover plants with garden fabric.
Storing Fresh Celery for Maximum Crispness
Fresh celery can stay crisp for weeks when stored properly.
Short-Term Storage (1–2 Weeks)
- Trim unused leaves
- Wrap stalks in slightly damp paper towels
- Keep inside a ventilated produce bag
- Store in the refrigerator’s crisper drawer
Long-Term Storage (Several Weeks)
- Store upright in a container with a little water at the bottom
- Change the water every few days
- Or place celery sticks in a sealed jar filled halfway with water
Freezing & Preserving Celery
Freezing
Best for soups and cooked dishes.
Steps:
- Chop celery
- Blanch for a few minutes
- Cool in ice water
- Dry and freeze on a tray
- Store in freezer bags
Dehydrating
Great for seasoning mixes or rehydrating later.
Using the Whole Plant
Nothing goes to waste:
- Leaves: Aromatic, perfect for soups, salads, or garnishing
- Inner stalks: Sweetest—best for raw snacking
- Outer stalks: Ideal for broths and slow-cooked dishes
Troubleshooting: Quick Fixes
| Problem | Cause | Solution |
| Stringy, bitter stalks | Irregular watering | Keep soil evenly moist |
| Yellow leaves | Poor drainage or low nutrients | Improve soil + feed lightly |
| Slow growth | Excess heat or poor soil | Add shade + enrich soil |
Final Tips for Growing Pravi Celer Successfully
- Plan ahead — celery loves long, steady growing seasons
- Keep moisture consistent
- Feed regularly with compost or mild organic fertilizer
- Store thoughtfully to keep celery crisp longer
With patience and a bit of care, you can enjoy crisp, flavorful pravi celer at home — perfect for healthy cooking, meal prep, and refreshing green juices.